So this chicken is about four and a half pounds. We’re going to rub some salt on it. So we’re going to calculate a teaspoon of salt for every two pounds of chicken. So I’m going to do a two and a quarter salt.
Why You’ll Love This
I know this seems like a lot of salt guys. Trust me. It’s not. It is just going to make your chicken very, very juicy. And flavorful. It will not be salty. I promise.
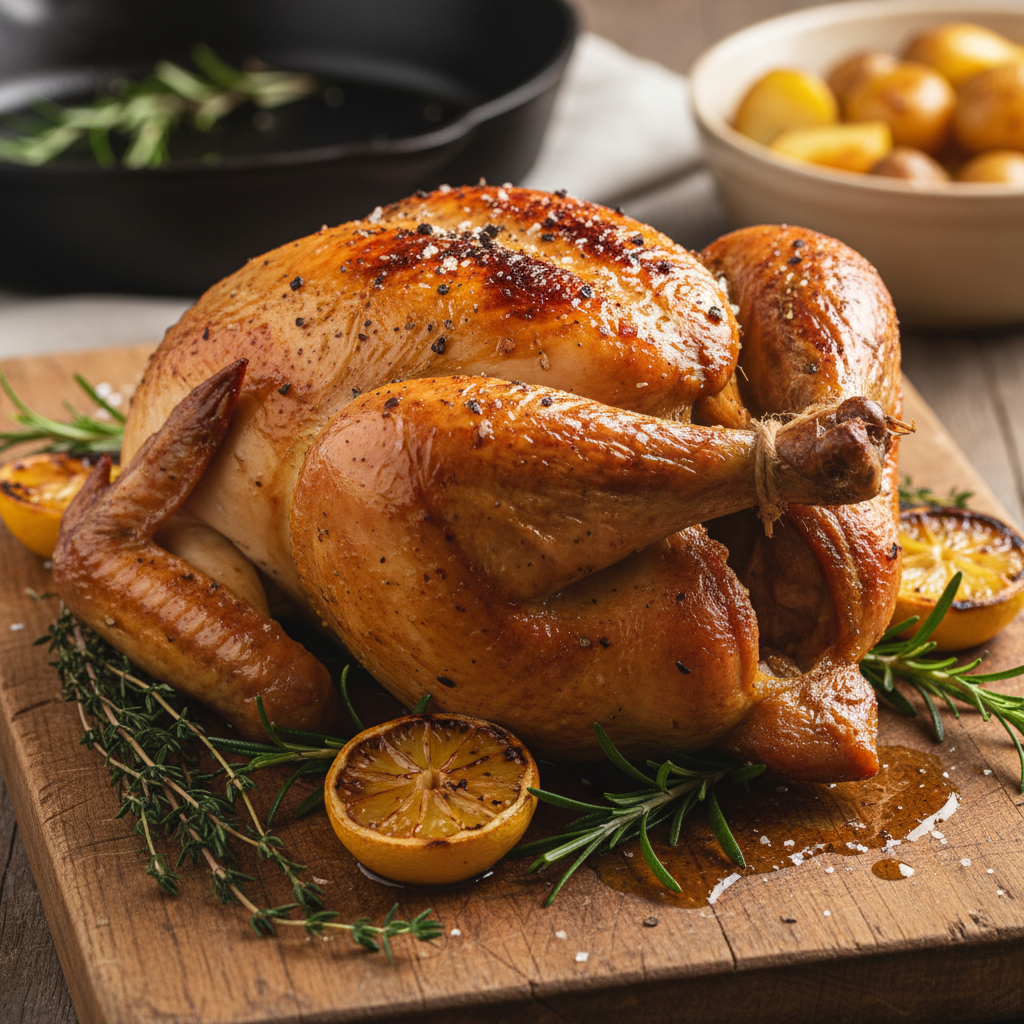
Oh my gosh. It is moist, juicy, and super flavorful. Yummy. It’s that salt that we put on it in the beginning. And of course the buttermilk tenderizes it so much. This is beautiful.
Ingredients
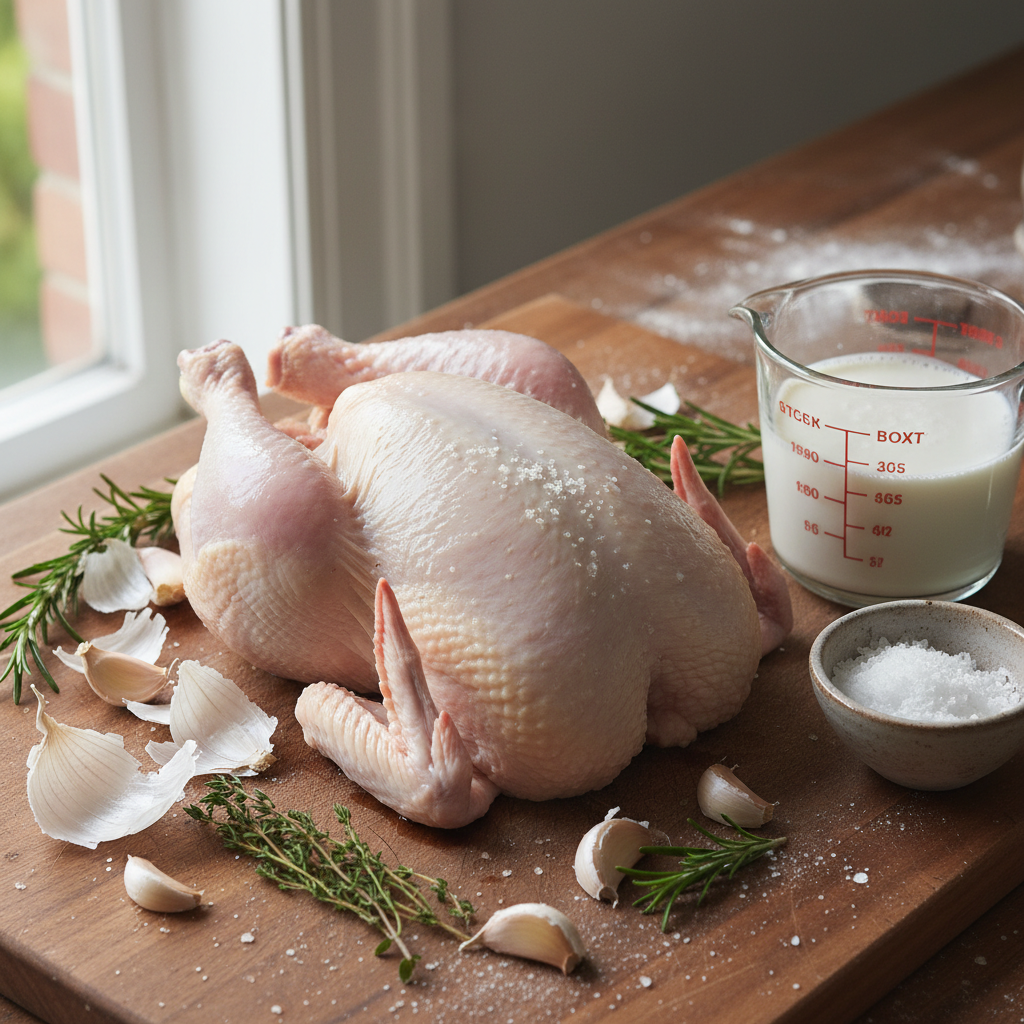
- four and a half pounds chicken
- two and a quarter salt (teaspoons, for 4.5 lbs chicken)
- 946 milliliters or a quart of buttermilk
- six garlic cloves, smashed
- Ziploc bag
- foil
- string
If you can’t find buttermilk:
- plain yogurt
- milk (to thin yogurt)
For buttermilk substitute:
- lemon juice or vinegar
- whole milk
Instructions
- Rub some salt on the chicken.
- Put it all over the chicken underneath the wings here between the thighs.
- Also put some inside of the cavity.
- Let this sit in the salt for about 20 minutes.
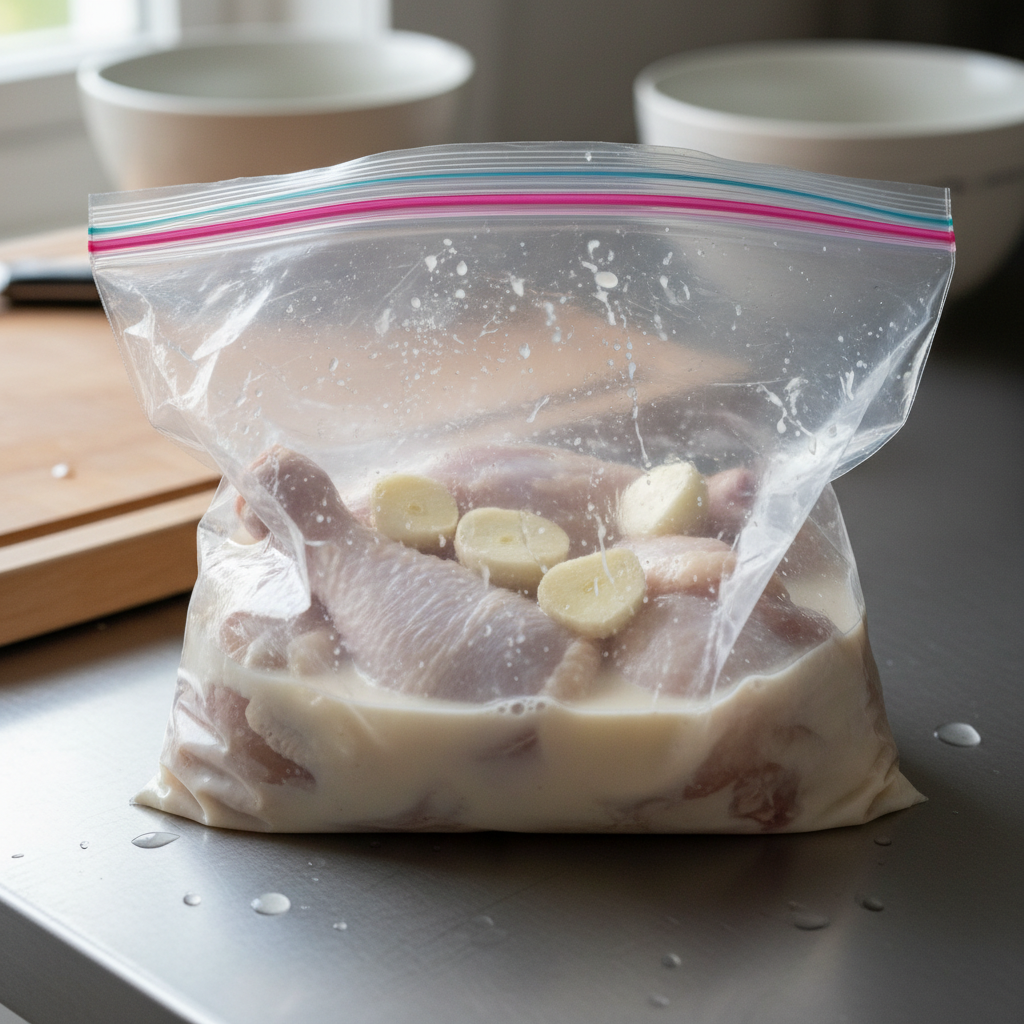
- Put this chicken inside a Ziploc bag.
- Pour a 946 milliliters or a quart of buttermilk inside it.
- Add about six garlic cloves, which I smashed.
- Leave this in the fridge until tomorrow and just let that buttermilk and the salt do its magic on this chicken.
- Close it up and just make sure it all gets covered.
- Take it out of the buttermilk.
- Discard the liquid.
- Wipe off that buttermilk.
- Tie the legs.
- Bring this to room temperature.
- Let it sit here for about 20 minutes.
- Put this chicken with the legs facing the back, but kind of slanted like this in an oven heating at 400 degrees Fahrenheit (200 degrees centigrade).
- Start it like this for 30 minutes.
- Turn it around.
- Check it in about 20 minutes.
- If it’s getting too brown, loosely cover it with foil.
- Go ahead and cover it loosely with foil.
- Let this continue cooking for another good 20 minutes.
- Keep the legs in the direction they were.
- Take it out of this pan, put it on the board.
- Let it rest for 15 minutes before we carve it.
- Take off that string.
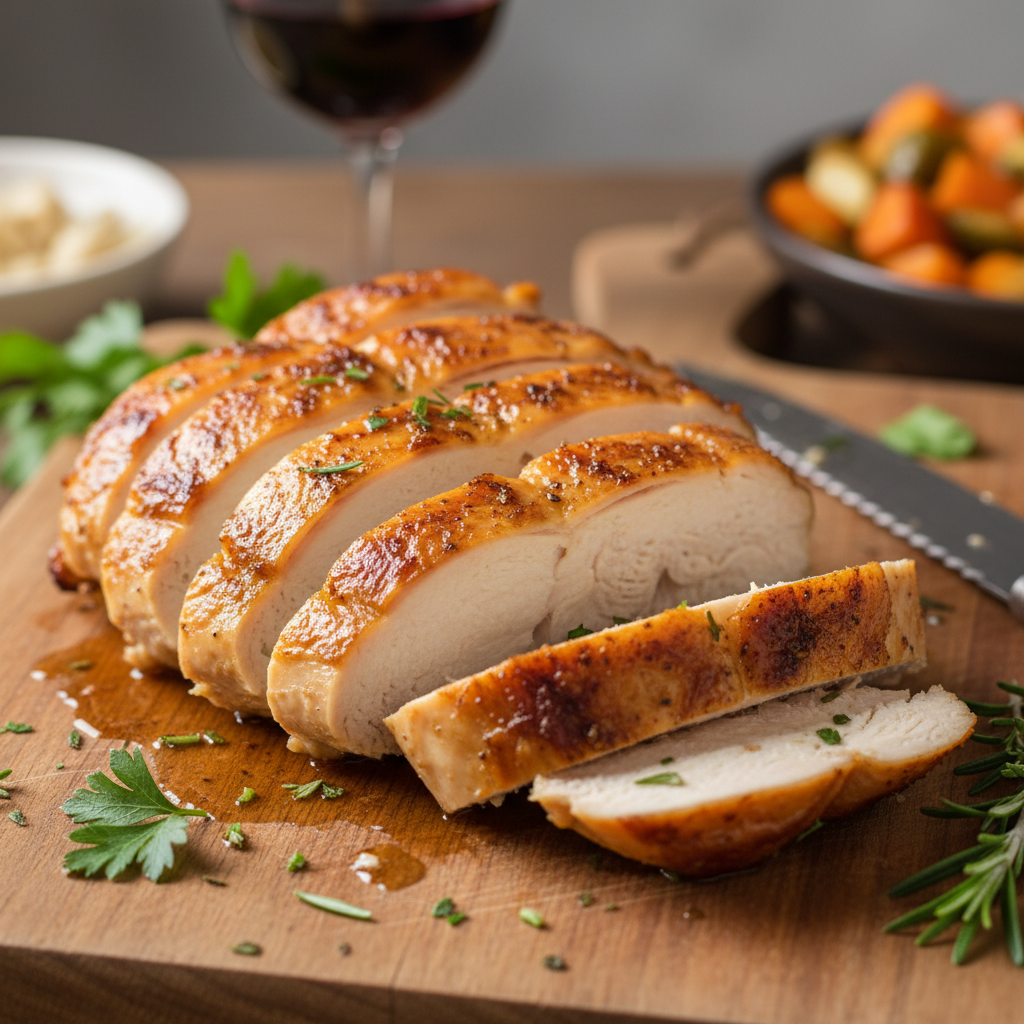
- Remove the chicken breast whole.
- Cut it against the grain.
Cooking Tips
I know this seems like a lot of salt guys. Trust me. It’s not. It is just going to make your chicken very, very juicy. And flavorful. It will not be salty. I promise.
If you can’t find buttermilk guys, you can use plain yogurt. If it’s thick, thin it out with some milk until you have the same consistency as the buttermilk. Of course, you can also make, you know, a substitute with lemon juice or vinegar and whole milk.
We don’t want that tip to burn.
It has to be room temperature. If it’s still very cold, it will not cook evenly.
The back of the oven is where we have the biggest, you know, it’s the hottest in the oven.
Every oven is different guys. I want you to just make sure you’re not eating raw chicken. Okay. Very important. It will make you sick.
One way to know that your chicken is cooked is when you separate the thigh, clear liquids come out, no blood. Clear liquids.
The only thing I don’t like about this method is that some of the skin has not browned. You know, the other side of the wing and a bit of the thigh.
Thanks for watching, guys.