Banana Bars Recipe
I think it’s time to say move over banana bread because these banana bars are maybe going to take your place.
If you have bananas, this is a great thing to make because it is delicious, freezes well, and it’s really simple. Let’s make some.
Why You’ll Love This
Sometimes when we have bananas and we don’t want to make banana bread but we want to use up those wonderful brown sweet bananas, we make banana bars.
So today is all about a simple banana bar and it really is, it really is simple and it’s really just something that you can put together really quickly.
This is something we made all the time growing up because they’re a crowd pleaser. Believe me, everyone loves these.
This is why it’s great to do these recipes with kids or with maybe people that aren’t as used to baking because they get you ready.
These to me are such a great thing. I don’t know if you’re a grandma and with your grandkids a parent with your kids or if you’re just doing like an after school program to me this is such a quick thing you can make. They bake really quickly. They finish really easily and they’re kind of like one of those no fail easy to do fun to put together and delicious recipes that kids always love and I think really enjoy seeing it come together.
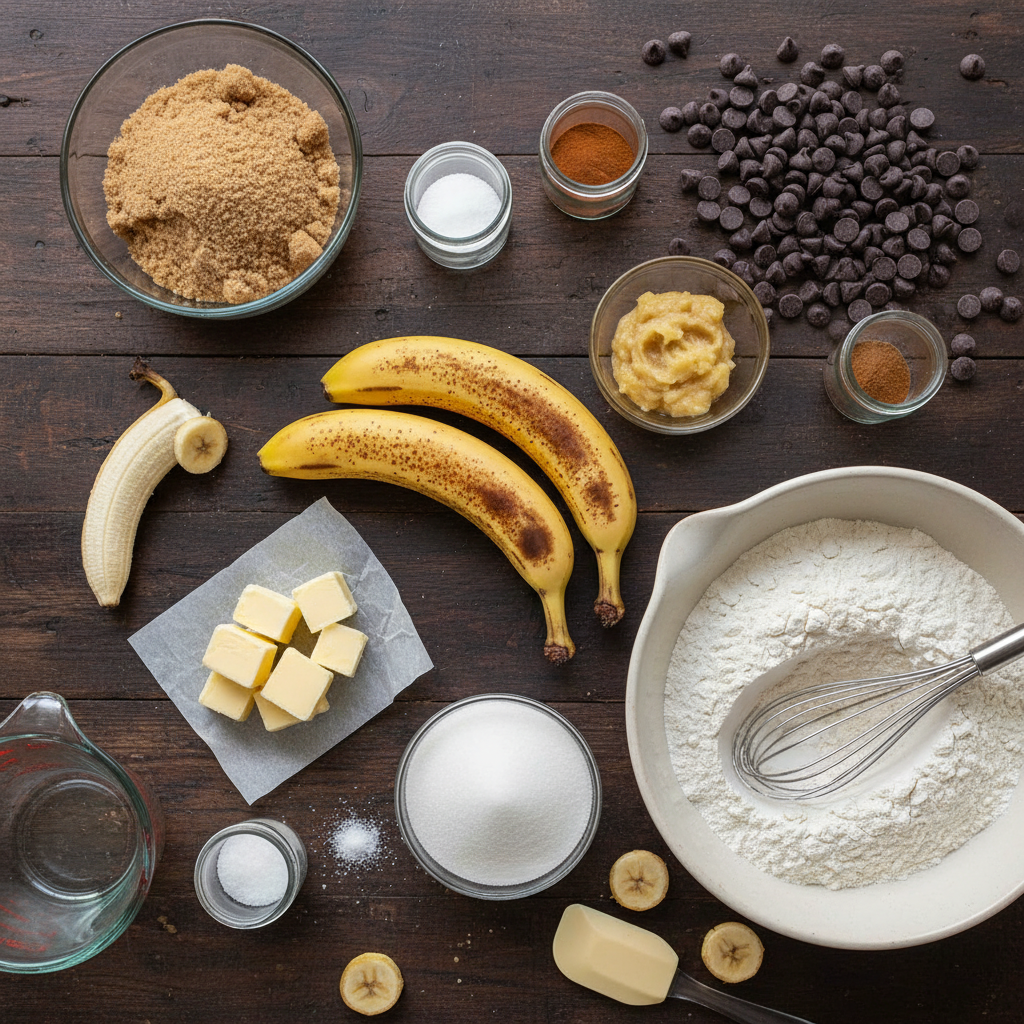
Ingredients
- brown sugar
- granulated white sugar
- butter
- egg
- vanilla
- bananas
- flour
- baking powder
- salt
- chocolate chips
For the Frosting:
- cream cheese
- butter
- vanilla
- powdered sugar
Instructions
- Start with some brown sugar.
- Add granulated white sugar.
- Add some butter.
- Use a hand mixer and start working it all together, creaming together those sugars and incorporating them into that butter.
- Add in our egg to that mixture.
- Add in some beautiful vanilla.
- Take a fork and quickly mash up the bananas.
- Put the mashed banana right into this mixture.
- Mix that together, making sure you break up that egg and get it all incorporated.
- Add our dry ingredients.
- Add flour (scoop and overfill, then swipe it off).
- Add some baking powder.
- Add some salt.
- Once all the dry ingredients are in there, mix that together slowly at first.
- Finish it off at the end with just folding.
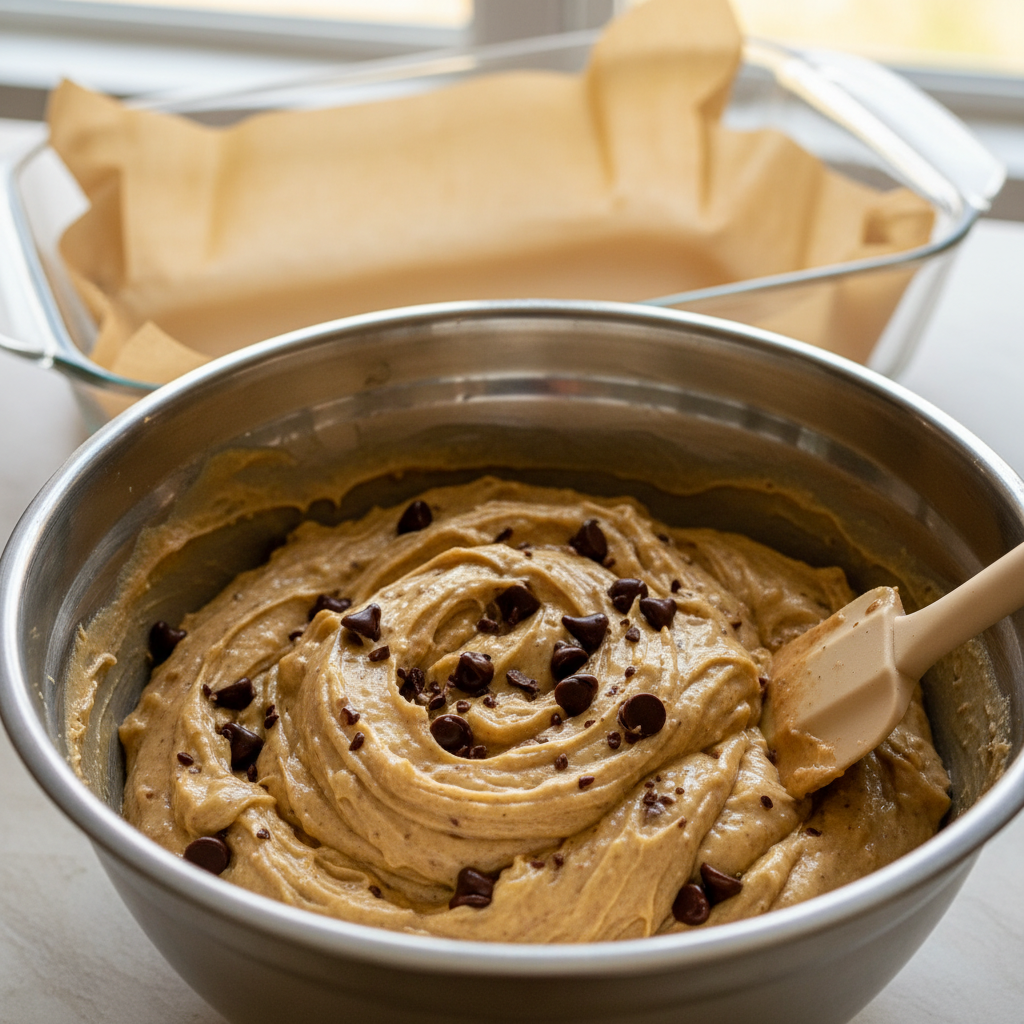
- Fold in chocolate chips right in.
- Take a buttered baking dish.
- Take an offset spatula and evenly distribute your batter into the corners, spreading it out until it’s even all around.
- Pop these right in the oven let them bake.
- Let them cool completely before you frost them.
For the Cream Cheese Frosting:
- Combine cream cheese and some butter.
- Mix those together until they’re soft and combined.
- Scrape it down a little bit.
- Flavor it a little bit with a little bit of vanilla.
- Add in powdered sugar using a sifter, some type of colander whatever you want.
- Go through and make sure you get it all out.
- Quickly put it through.
- Push any remaining pieces through with your hand.
- Very slowly at first, mix this until it’s smooth.
- Do a final just stir for any of that powder that’s up there residually.
- Make sure everything’s mixed together.
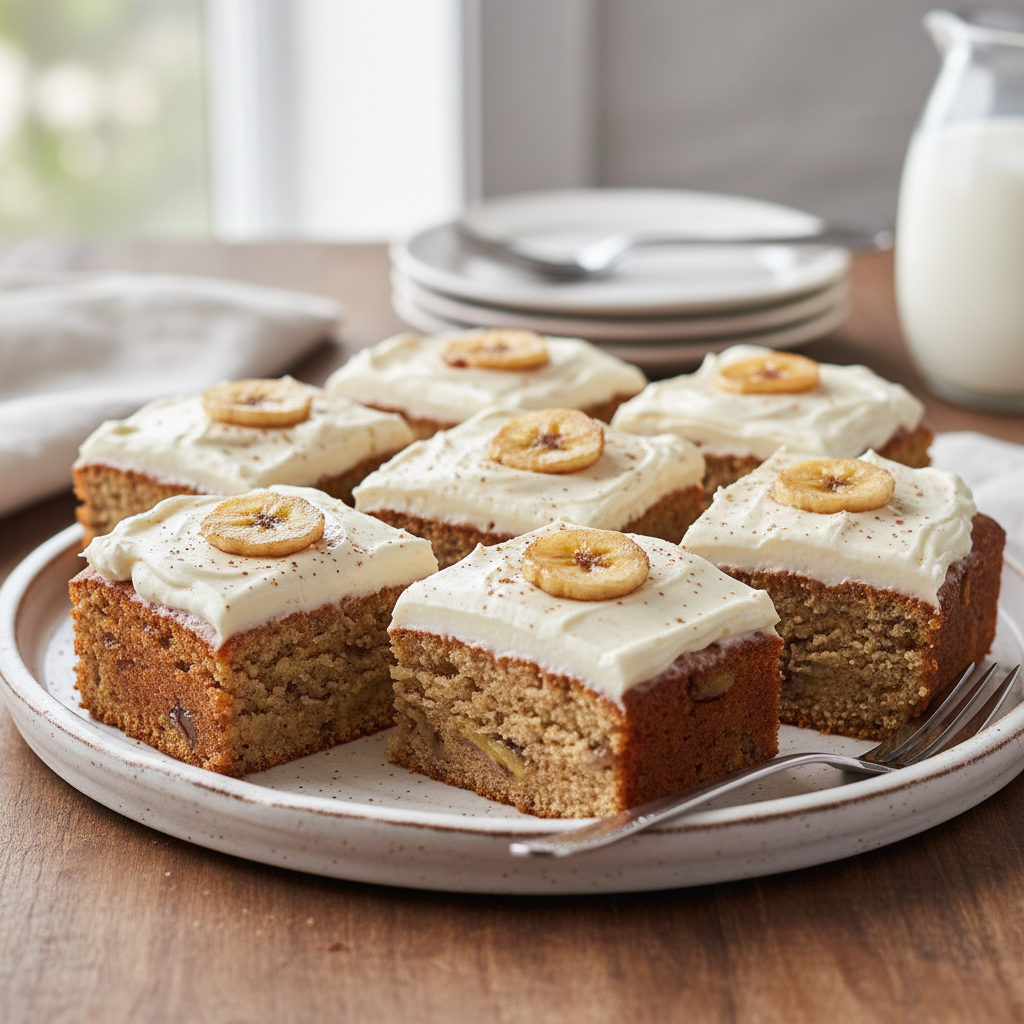
- Once the bars are cooled, put the frosting all on.
- Spread it out somewhat evenly with an offset spatula.
Cooking Tips
The creaming part is an important step and it takes a little bit, you know, a few more minutes maybe than you would think because you actually want to start mixing together those sugars and incorporating them into that butter. It actually helps start slowly dissolving the sugar, aerating the butter. It gives a better crumb and texture.
Vanilla is actually to me really important no matter what you’re making but with banana with so many things it brings out such a beautiful note of what you’re using. So yes you’re going to notice the vanilla but you’re also going to kind of notice more of those banana notes because of the vanilla.
When you’re making anything banana based when it’s a baking item like this you want them to be nice and brown. The more brown they are the more sugar content they have because they continue to gain that sugar content as they are ripening like this. So you want to make sure you let them get really brown. Almost black and look once you open them they still look good. If there’s a few bruises don’t worry about that.
I just take a fork and I quickly mash them up. They don’t have to be perfect. If there’s a little texture it’s okay but mashing them to me is a really quick simple step.
If you have bananas that are going bad you’re not in the mood to bake or you just don’t want anything yet you can either put them just peel them and put them in the freezer pull them out let them thaw and mash them or you could even pre-mash them in measurements that you’re going to use whether it’s cut measurements whatever and then use it like that. So it can work in multiple ways.
What I do like to do is make sure and know how much I have because you know what the size of the banana it varies all the time and you cannot count on knowing what it’s going to be and guess what this is one of those times.
So see this is why I’m measuring look that’s not enough banana.
If you just count when a recipe says just one two bananas whatever it is don’t necessarily trust that. You want to be able to have a measurement so you know how much banana you need and that’s going to affect a measurement in a recipe. So all these things make a difference when you’re doing it but you can see it really takes no time just to be able to add that next one into it.
The reason we love banana is some people think of it as a replacement for oil or other things kind of like applesauce. Really in this case this is just a good way to enjoy something delicious in a delicious form.
Always after your wet ingredients are like this don’t feel worried or scared if it looks a little curdled. You see that look that’s just that it’s not emulsified yet so we’re going to now add our dry ingredients and it will all come together.
Always when I do my flour you see me do this I scoop it and I overfill and then I just swipe it off. So if you weigh your flour you’re going to be more accurate but a way to be more accurate when you’re just using dry measurements like this is overfilling scooping off. That’s just a really simple way.
I will always slightly under mix anything I’m making because you don’t want to over mix it that’s when something gets tough the crumb won’t be as good. So I always finish it off at the end with just folding and I’m going to finish it with folding in chocolate chips.
I like to fold them because well one a mixer can break them up which doesn’t work the best. It just is a nice quick way to finish off everything make sure it’s evenly incorporated. So same if you’re going to do this with a stand mixer I would still finish by hand.
You can leave them out but believe me you’re going to want them in.
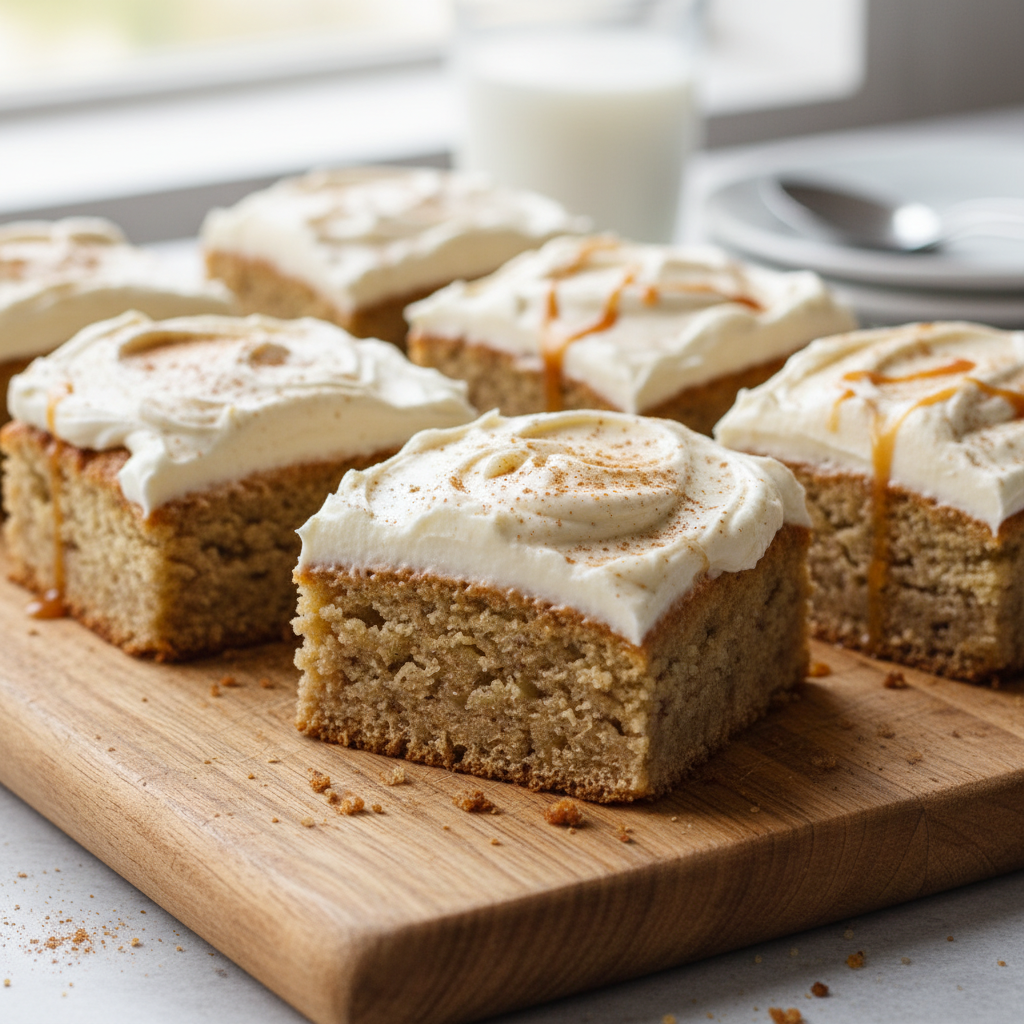
These are a cakey bar which I like so they have like a delicious soft melt in your mouth texture but they’re baked of course in a bar pan of some type and that will give them just the correct size. You don’t want a cake size. You don’t want it that thick. You want it just thick enough that it is hold like you can hold it like a bar but it’s almost soft enough. You want to eat it with a fork sometimes.
If you frost them with the cream cheese frosting it’ll just melt and be too soft because cream cheese frosting is already soft.
I don’t like them too warm as in like almost you know hot because then it almost wants to melt when you’re mixing them.
I do try to use a sifter some type of colander whatever you want when you’re doing your powdered sugar because those lumps and powdered sugar they really will kind of show up in a frosting.
I’ll just put it over and then go through and make sure I get it all out. It just those lumps after you’re going to the work of doing all this there’s no reason to have those lumps.
The texture of the cream cheese frosting should be smooth.
Make sure they’re cooled and then we have our frosting. We’re just going to put it all on.
They don’t have to be perfect. They’re a bar. Once you cut them and slice them no one sees what they look like. So if they look uneven don’t worry about it.
As they cool they come in just a little bit from the sides. That’s normal. Don’t feel bad about that.
What you do want to do especially if kids are involved here is not have any have too much or too little frosting because someone would have been this kid would say why does that one have more frosting?
The ratio of the cream cheese to the butter is what makes it spread and not be too soft but also not be too solid.
You can tell it’s still moist in the middle which is the important part.
Serving Suggestions
Now you can just serve them up.
I hope you make yourself a treat. Make your neighbor a treat. Make a loved one in your life a treat. Or you know what? Make a new friend with these because that’s what they’ll do.
So share this recipe around when you share these videos. It of course helps me but it also helps everyone else see how easy and doable these things are to do at home. To make good food. To enjoy it.
Check my website for this recipe and all my other recipes.
Until next time it might be time to go buy bananas because you’re going to want to make these.
Bye. Bye. Bye.